Saturday, April 30, 2011

April's Prima Pick and Palette

I just love Prima's papers, flowers, bling, and fun goodies!!  I always get great inspiration from their products and DT!!

PPP 04-01-2011

Just look at these colorful, gorgeous products! Aprils' PPP includes scrumptious flowers, luscious ribbons, artsy screen-printed canvas, and pretty patterned papers.

With this wonder assortment of colors I created this fun layout of my kids when they were all 11 weeks old.


Challenges entered:
http://paper-craftingjourney.blogspot.com/ - end 5/11x
http://pileitonchallenge.blogspot.com/ - end 6/1x
http://thesecretcraftersaturdaychallenge.blogspot.com/ - end 5/7x
http://sparklesforumchallenges.blogspot.com/ - end 5/7x
http://trailmakers.blogspot.com/ - end 5/31x
http://totallygorjuss.blogspot.com/ - end 5/7x
http://totallypapercrafts.blogspot.com/ - end 5/7x
http://wagsnwhiskersrubberstamps.blogspot.com/  - end 5/13x

Enjoy!!

Erin R. 

Mini Picture Holders

Ever wonder what the perfect gift is for you mom on Mother's Day, or what to do with all those leftover scraps of paper and embellishments?


Here is a wonderful idea for you.  I was looking through one of my old scrap mags and came across this great little idea. It fit right along with the Dots and Stripes Challenge over at Frosted Designs and also for the Ribbon/Trim challenge at Clear it Out.

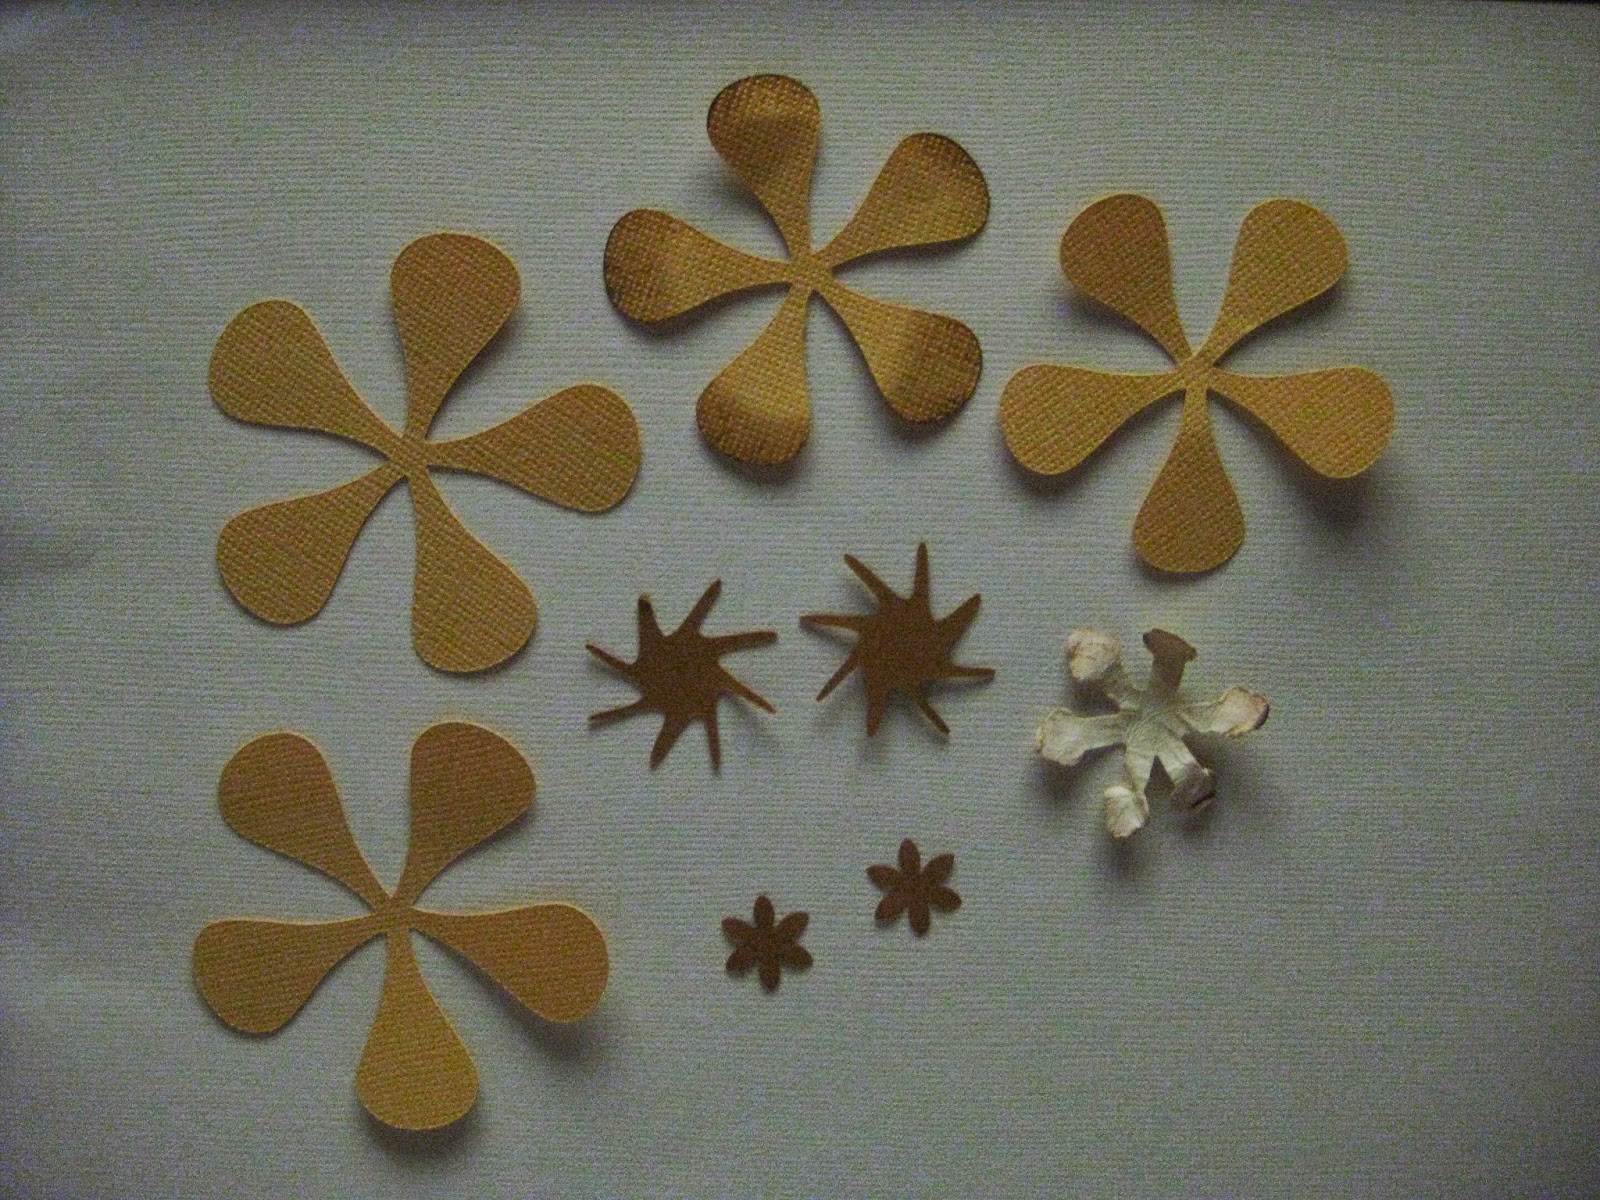
All of these papers, ribbon, and flowers are from the May Kit from The Paper Trail (link below)

Using binder clips (like you find in the office supply stores) adhere strips of paper, ribbon, yard, bling, and stickers to make a fun little picture holder.


You take a strip of paper that is the width of the binder clip, and tuck it under the front edge, then trim the back side so it fit under the back edge.  Adhere with glue dots of your adhesive runner.  For this picture holder, I took some wonderful ribbon and tied it to side of the clip and then frayed the ends for a fun look.


In this holder I took a tag and trimmed it to fit the clip, I placed a gem in the hole that was left from the tag.


This holder was made from a sticker tag leftover from one the the sticker sheets in the May Trail Makers Kit, then tied 2 different matching colored yarn bits to it.


The beauty of the binder clip is that it has a flat base to when you clip the picture into the holder it stand upright.  You can place you holder on the side of the picture or in the middle, where ever you want it to go!!

I did 2 different sizes, but there are even bigger binder clips that you could make a holder for.  There are also lots of colors the clips come it, white, black, green, red, etc so that adds to the fun.

Challenges entered:
http://bythecuteandgirly.blogspot.com/ - end 6/1x
http://creativecowgirlschallenge.blogspot.com - end 5/8x
http://fairytale-challengeblog.blogspot.com/ - end 5/12x
http://myshericrafts.blogspot.com/ - end 5/7x
http://paper-craftingjourney.blogspot.com/ - end 5/11x
http://scrapitforward.blogspot.com/ - end 5/13x
http://simplycreatechallenges.blogspot.com/ - end 5/7x
http://sparklesforumchallenges.blogspot.com/ - end 5/7x

Enjoy!!

Erin R.

Tuesday, April 19, 2011

Play

My sons love to play int he water, something about a boy and water just goes together!!  Since our weather is getting warmer, and we are not in the Texas hot heat yet, the boys just love to be outside and to play, especially with the hose or water table.  In this shot the kids were playing with the sprinkler and I stood above them to get a shot of both them and the water shooting up...........and I got this great pic of my oldest Morgan.

The journaling reads "Sunshine, water and boys...........what could be better.  The best days Morgan loves to play with the water in our backyard.  It could be hose, water table, or the sprinkler.  It does not matter.....boys just want to play in water!"


Challenges:
http://www.trailmakers.blogspot.com/  - ends 4/30x
http://doyoustackup.blogspot.com/ - end 4/21x
http://fairyknoll.blogspot.com/p/fun-at-fairy-knoll-challenges.html - end 4/21*
http://stampchallenges.blogspot.com/ - end 4/21x
http://toptiptuesday.blogspot.com/- end 4/26x
http://totallypapercrafts.blogspot.com/ - end 4/22x
http://craftsandmechallenges.blogspot.com/ - end 4/20x
http://craftyannschallengeblog.blogspot.com/ - end 4/21x


Enjoy!!

Erin R.

One year Old - GDT Reveal

I am the guest designer for Cleat it Out a papercraft Challenge site, and the next challenge offered by the site is faux quilting.  I had never seen or heard of faux quilting on papercrafts before........so I had to look it up, and it sounded so cute!! 

This pic is of my friends son when he turned one.  I loved his little outfit, the soft yellow and the little animals on it, so I matched the idea with the paper.


I loved this technique so much that I even made a tutorial for it!!

1. Supplies:  paper, foam pop dots, sewing machine (or by hand), paper, scissors, and ruler.


2. Cut you paper into squares ( I did 1.5 inches on all my squares).  I also think that patterned paper works best for this).  Distress all the edges of the paper with your scissors to give it the rough fabric feel.


3.  Place foam pop dots on the back of each of the squares.  This helps give it the look of being puffed up like batting int he quilt.

4.  Place you squares even spaced on your background paper.  Having a grid paper like my blue one helps, because you can use the grid as your guide to place your faux quilt squares.  Using your sewing machine (or by hand if you wish) stitch your squares.  Start at the top of one column and stitch all the way to the bottom, repeat this stitching until both sides off all the squares are stitched.  Then repeat for all the rows.


5.  When all 4 sides of all the squares have been stitched use your fingernail or edge of scissors to fluff up the edges of the squares to give it the ruffled quilt look.  Ink if you like.

Challenges
http://doyoustackup.blogspot.com/ - end 4/21x
http://fairyknoll.blogspot.com/p/fun-at-fairy-knoll-challenges.html - end 4/21*
http://forfunchallenges.blogspot.com/  end 4/20x
http://getyoursketchon.blogspot.com/ - end 4/25x
http://hellocutiechallenges.blogspot.com/ - end 4/20
http://toptiptuesday.blogspot.com/ - end 4/26x
http://www.pencillines.com/ - end 4/24
http://craftyannschallengeblog.blogspot.com/ - end 4/21x


Enjoy!!

Erin R.

Friday, April 15, 2011

DT Reveal Day - Easter 1987

This layout is made for a friend.  It is Easter day for her and her family and they met at a golf club with the kids.  Such wonderful photos!!

I was able to create this one layout with 3 of my different design teams!!  

1. I used the wonderful cutter files from RSMobley Designs.  I made the eggs, bunny and the grass from one of her files (RM00099).  Look at all the detail in these eggs, so delicate and pretty.  I chose pastel colors to soften the look, but there are so many options with this file, even making them any size you want (I can just picture a card.........hmm maybe next project!!)


2. The next Frosted Designs Friday Challenge is all about making handmade embellishments!!  So with the cutter files from RSMobley I paper pieced the bunny and eggs to create a fun look!!  Every time I look at this bunny I think chocolate, yum......chocolate Easter bunnies, my favorite are the Cadbury milk chocolate ones :)


3. The Sketch is from Sketches in Thyme for the April 14th sketch challenge.  Also to announce SIT is having a DT call, so if you are interest in being a design team member for a wonderful sketch challenge site please check Sketches in Thyme.


........and the final reveal...........I went for a clean look with pastel colors for Easter. 


Challenges:
http://diekreativenstempelfreunde.blogspot.com/ - end 5/1x
http://bythecuteandgirly.blogspot.com/ -end 5/1x
http://craftyannschallengeblog.blogspot.com/ - end 4/21x
http://craftycreationschallenges.blogspot.com/- end 4/20x
http://bellichallenge.blogspot.com/ - end 4/26x
http://creativecardcrew.blogspot.com/ - end 4/19x
http://shopcropsuey.blogspot.com/ - end 4/20x
http://cutie-sunday.blogspot.com/- end 4/23x
http://delightfulsketches.blogspot.com/ - end 4/21x
http://doyoustackup.blogspot.com/ - end 4/21x
http://forfunchallenges.blogspot.com/ - end 4/20x
http://hellocutiechallenges.blogspot.com/ - end 4/20x
http://simplycreatechallenges.blogspot.com/ - end 4/22x
http://sparklesforumchallenges.blogspot.com/ - end 4/25x
http://totallypapercrafts.blogspot.com/ -end 4/22x


Enjoy!!

Erin R.

Tuesday, April 5, 2011

Love Blooms - Clear It Out - GDT Reveal With Flower Tutorial

I was asked to be April's GDT for Clear it Out.  A new challenged based site.  This weeks challenge is to make your own flowers, so I did and I even created a new flower and tutorial!!


Tutorial for Twisted Nesting Flowers

Supplies:  Glue, flower shapes (cut from a punch, by hand, or cricut), chalk ink, spray mist. cardstock, water in spray bottle


1. I used the following flower shapes, but any will work for this, they just need to be different sizes (2 of each size).  For one size I even used a snowflake punch


2. Ink the edges of all the flowers with brown ink (I used dark brown ColorBox Chalk Cat's Eye Ink pad).  Then mist with the water and crumple the ends of each petal.


3. Un-crumple the edges (make sure it is still damp from the water, and twist the tip.  Do this for 3 largest flower shapes.


4.  Take the 2 largest flowers and nest them into each other, but turned so the petals are not lined up.  Glue in place.


5.  Nest and glue the next size down pair of flowers together and nest that pair onto the first pair.


 6. Nest the snowflake shape on top your stacked flower.


7. Mist with water your two star or sun shapes.  Place them in your palm or on the table and push the end of your pen into the middle to curl your flower.


8. Wet your two smallest shapes and pinch them from the base as shown.


9. Nest each of the like size shapes into each other, then nest each pair together.


 10.  Place the last nested center onto the other nested flower group to complete the nesting process.
The last step is to mist your flower with paint mist (I used a very light spray of Smooch wood stain).  At this point you can also use paint to darken the inside of the flower or the tips of the petals (like Smooch paint)


You can make these flowers any size by just changing the size of your flower shapes.


Challenges:
http://creativeinspirationspaint.blogspot.com/2011/04/ci-paints-inspired-by-spring.html - end 4/9x
http://diekreativenstempelfreunde.blogspot.com/ - end 4/17x
http://www.scrap-creations1.blogspot.com/ - end 4/11x
http://reasonableribbon.blogspot.com/search/label/challenges - end 4/15x
http://stampinsanity.com/ = ends 4/10x
http://stampchallenges.blogspot.com/ - end 4/7x
http://totallypapercrafts.blogspot.com/ - end 4/8*
http://wagsnwhiskersrubberstamps.blogspot.com/ - end 4/14x
http://pileitonchallenge.blogspot.com/ - end 4/9x
http://trailmakers.blogspot.com/ - 4/16
http://craftycalendarchallenge.blogspot.com/ - end 5/6
http://mamidoodles.blogspot.com/search?label=challenge- end 4/14x
http://shopcropsuey.blogspot.com/ - end 4/20x
http://delightfulsketches.blogspot.com/ - end 4/7x
http://fairyknoll.blogspot.com/p/fun-at-fairy-knoll-challenges.html - end 4/7x
K Andrew's Simply Sunday Challenge at Getting Cricky - end 4/16x
http://prairiefairyfridays.blogspot.com/ - end 4/7*
http://simplycreatechallenges.blogspot.com/ - end 4/8x
http://sparklesforumchallenges.blogspot.com/ - end 4/10x


Enjoy!!

Erin R.

Friday, April 1, 2011

RSMobley Designs DT Reveal - Bush Family Recipes

I am making a recipe book for a wedding shower for a family member.  It is a great idea, we all bring a recipe and then we make a scrap page with the recipe card and give her the book of all the pages.  This page is the front cover of the book (her new last name is Bush).

I used cutter file RM00076 from RSMobley Designs (the cupcake).  This is such a great file because it has so many uses!!

 
Enjoy!!

Erin R.

Frosted Designs Friday April 1st DT Challenge Reveal - prom

Frosted Designs has a great challenge today - BLING!!

I took my wonderful swirlydoo kit and created my LO.  This LO is a bit different for me, as it has me in it!! This is a few of the pics from my senior prom (yep that is me back when I was 17!!) I was so sick that day, I had a horrible cold, could not breath, smell, or taste anything, but I was GOING!!

The boy in the pics is now my hubby.............yep we are HS sweethearts

I have lots of fun elements on this page.  I love doing the technique of taking your lace or ribbon and framing a circle, it gives the circle such dimension and elegance, all you have to do is cut little slits in between the sections of the lace to allow it to bend, and viola it can bend!!

I also used one the Ziva crystals and cut it up to tuck under the vines and flowers.  I love the effect it has, just that little bit of added bling!!


Challenges:
http://alyssundaychallenge.blogspot.com/ - end 4/2x
http://anythingchallenge.blogspot.com/ - end 4/6x
http://bythecuteandgirly.blogspot.com/ - end 4/30x
http://charismacardz.blogspot.com/ - end 4/6x
http://creativeinspirationspaint.blogspot.com/2011/03/ci-paints-inspired-by-flowers.html - end 4/2x
http://delightfulsketches.blogspot.com/ - end 4/6x
http://doyoustackup.blogspot.com/ - end 4/6x
http://fairyknoll.blogspot.com/p/fun-at-fairy-knoll-challenges.html - end 4/7x
http://diekreativenstempelfreunde.blogspot.com/ - end 4/3x
http://paperprettiesblog.blogspot.com/ - end 4/5x
http://paperthrills.blogspot.com/ - end ?x
http://prairiefairyfridays.blogspot.com/ - end 4/6x
http://reasonableribbon.blogspot.com/search/label/challenges - end 4/13x
http://www.scrap-creations1.blogspot.com/ - end 4/4x
http://sparklesforumchallenges.blogspot.com/ - end 4/7x
http://stampinsanity.com/ - end 4/6x
http://www.stampsruschallenges.blogspot.com/ - end 4/3x
http://thepapervariety.blogspot.com/ - end 4/5x : 1 - 1word title, 2 - feathers, 3 - pictures
http://blog.therubbercafe.com/ - end 4/7x
http://wagsnwhiskersrubberstamps.blogspot.com/- end 4/15x

Enjoy!!

Erin R.

Share This

Related Posts Plugin for WordPress, Blogger...